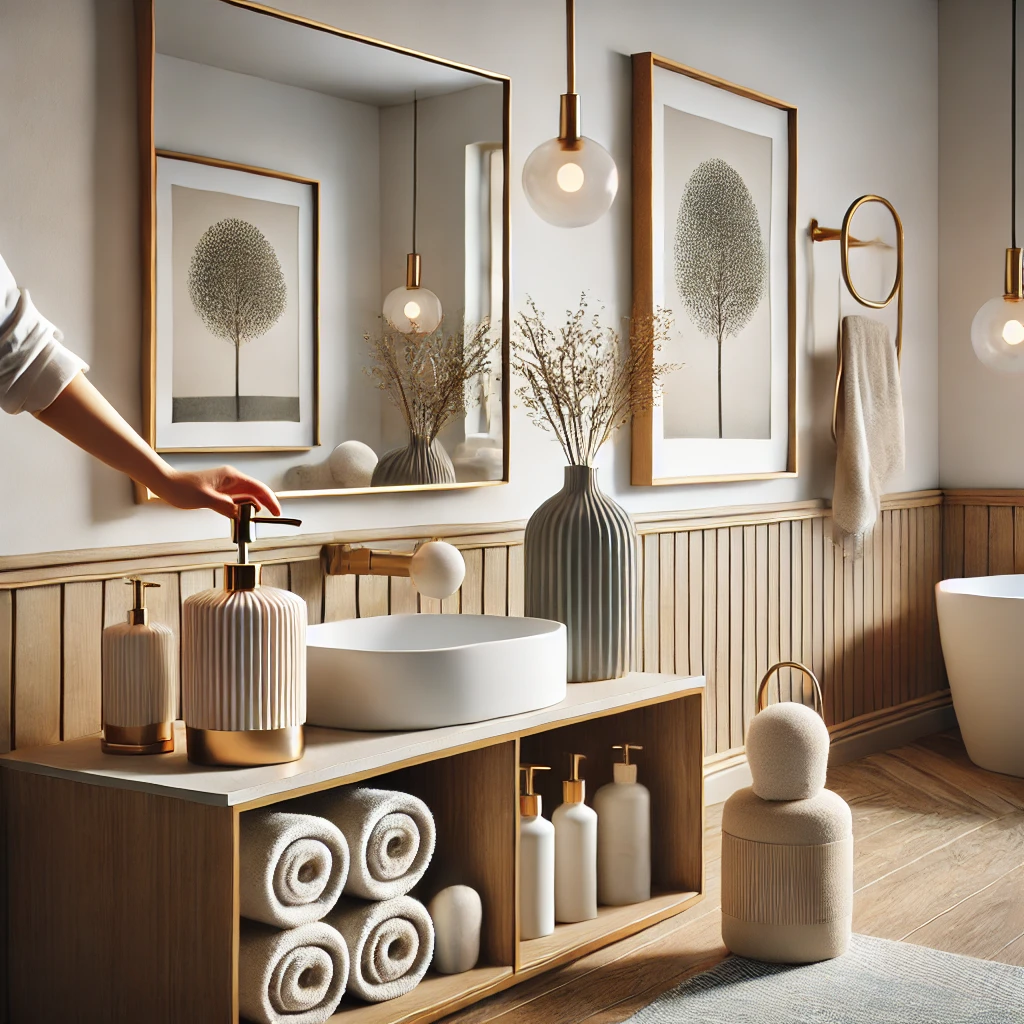
Planning a bathroom remodel? Exciting times are ahead! However, before diving into this transformative project, it’s important to recognize the effort it requires. Even if you’re working with a professional designer or contractor, much of the planning and decision-making will fall on you as the homeowner.
From setting goals to selecting materials, this comprehensive guide will walk you through the steps to create the bathroom of your dreams. Let’s get started!
Step 1: Define Your Goals
Start by asking yourself what you want to achieve with this remodel. Is it about improving functionality, updating the look, or increasing storage? Consider the following questions:
- Who will use the bathroom? Is it a primary, guest, or kids’ bathroom?
- How often will it be used, and what features are most important?
- Are there specific issues with the current layout or design that you want to address?
- Are you planning for long-term use, including aging-in-place considerations?
Once you’ve identified your goals, envision your dream bathroom without constraints like budget or space—this can help you prioritize what’s most important.
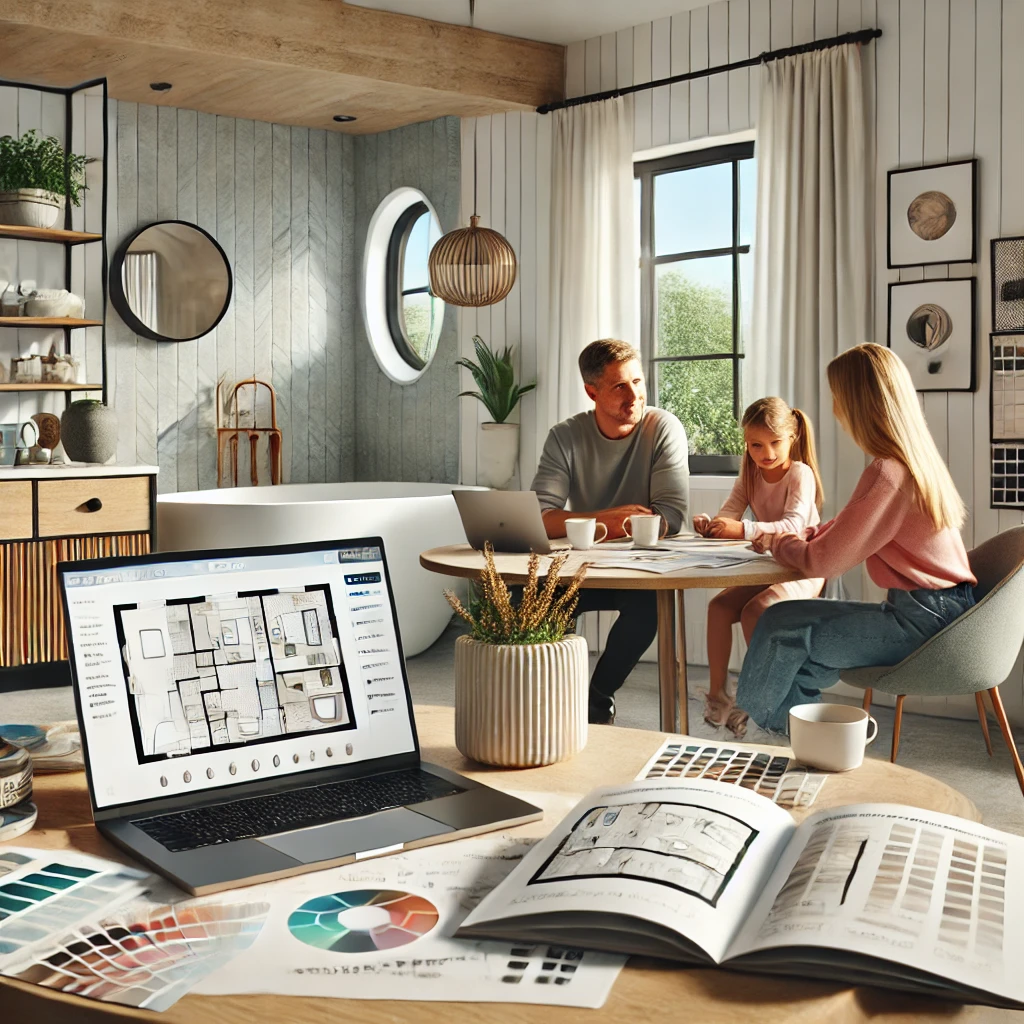
Step 2: Establish Your Budget
Knowing your budget early on is crucial. Bathroom remodels can range widely in cost, with the national median spend in 2023 being $15,000. Factors that influence costs include room size, the extent of changes, and location. Be sure to add a 10% to 20% cushion for unexpected expenses.
To save money, consider retaining the existing plumbing and wiring layout if possible. This can significantly reduce labor and material costs.
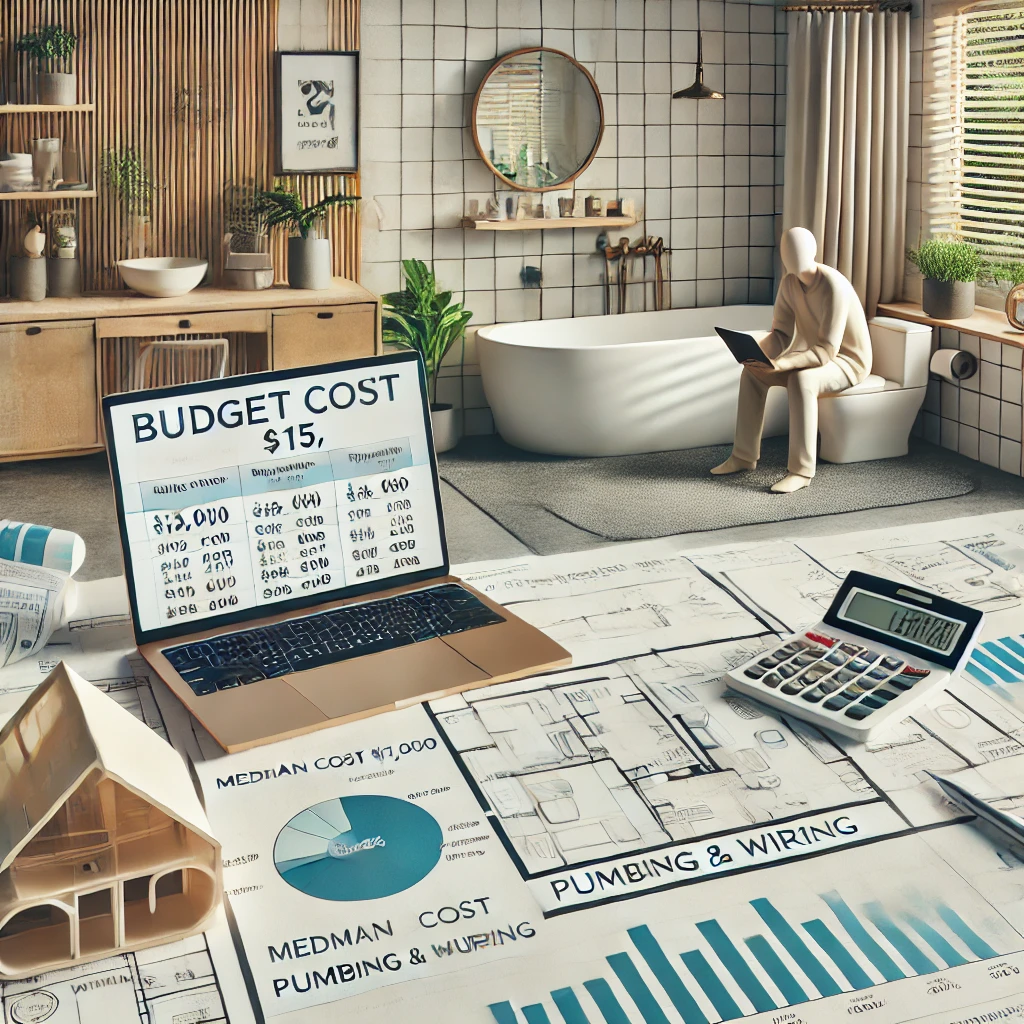
Step 3: Assemble Your Team
Depending on the complexity of your remodel, you may need one or more professionals:
- Bathroom Designer: Ideal for major remodels to help with layout, material selection, and cohesive design.
- General Contractor or Design-Build Firm: Manages construction, coordinates subcontractors, and ensures the project stays on track.
- Specialized Tradespeople: Plumbers, electricians, tilers, and cabinet makers may be hired directly for smaller projects.
For smaller updates, you may handle some tasks yourself. However, leave specialized work like plumbing and electrical to the pros to avoid costly mistakes.

Step 4: Refine Your Vision
Gather inspiration by collecting photos of bathrooms you love. Take note of layouts, colors, and materials that catch your eye. Consider:
- Layout changes: Can you optimize the space by reconfiguring elements or borrowing space from adjacent rooms?
- Functional needs: Storage solutions, natural light, and privacy options for toilets.
- Style preferences: Ensure your bathroom design complements the rest of your home.
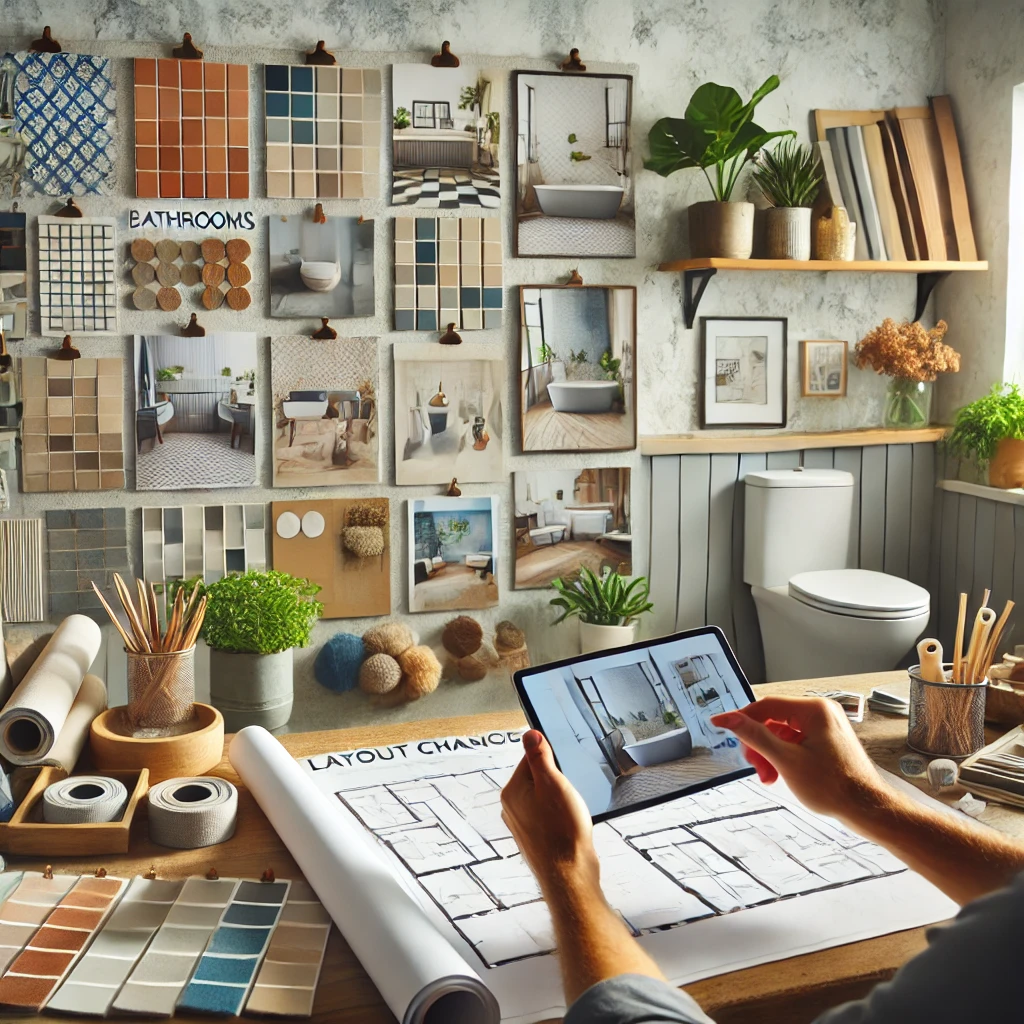
Step 5: Develop a Schematic Design
Work with your designer or contractor to create preliminary floor plans and sketches. These should define:
- Layout and spacing of major elements (e.g., vanity, shower, toilet).
- Dimensions of key components.
Finalizing these details ensures you’ll know exactly what materials and quantities to purchase.
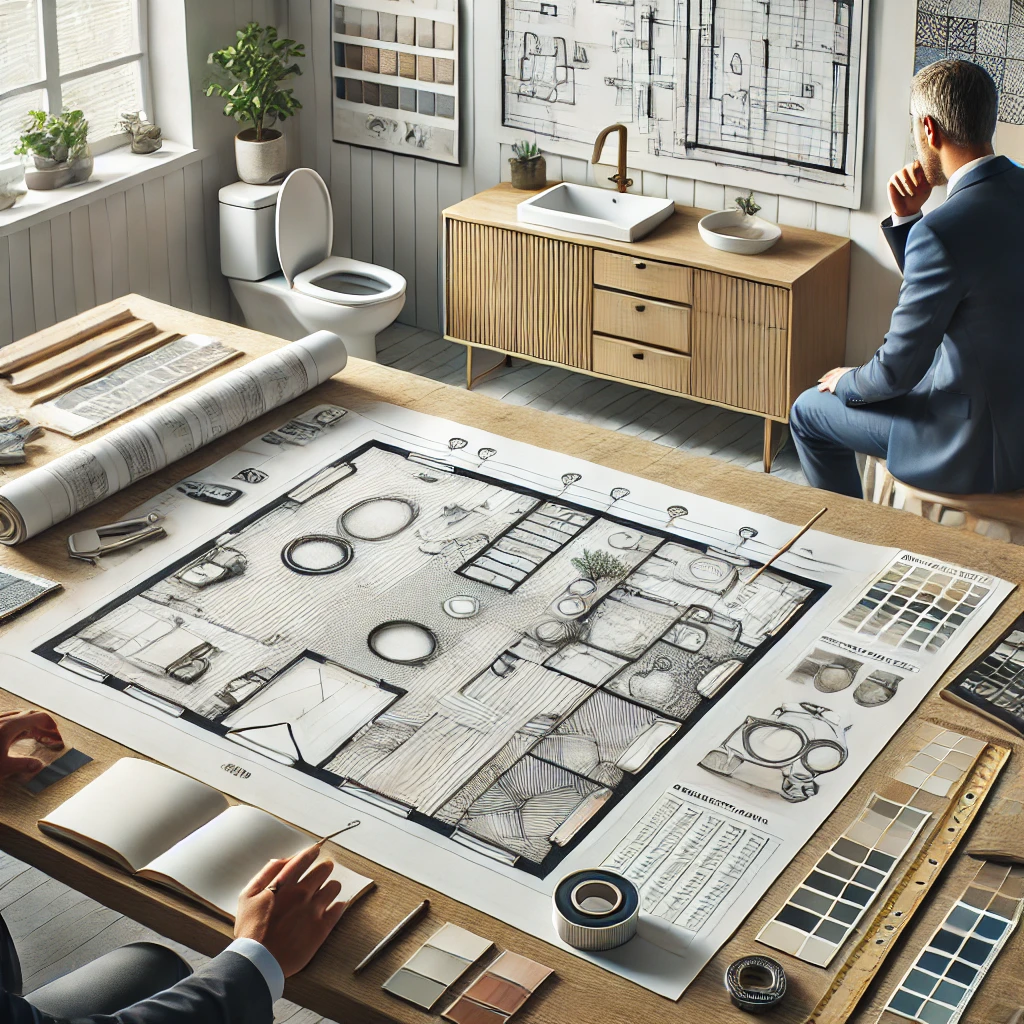
Step 6: Select Materials and Finishes
This stage is where your vision comes to life. Focus on choosing materials and finishes for:
- Flooring
- Tiles
- Vanities and sinks
- Bathtub or shower
- Faucets and fixtures
- Lighting
Research and compare options to balance style, functionality, and budget.

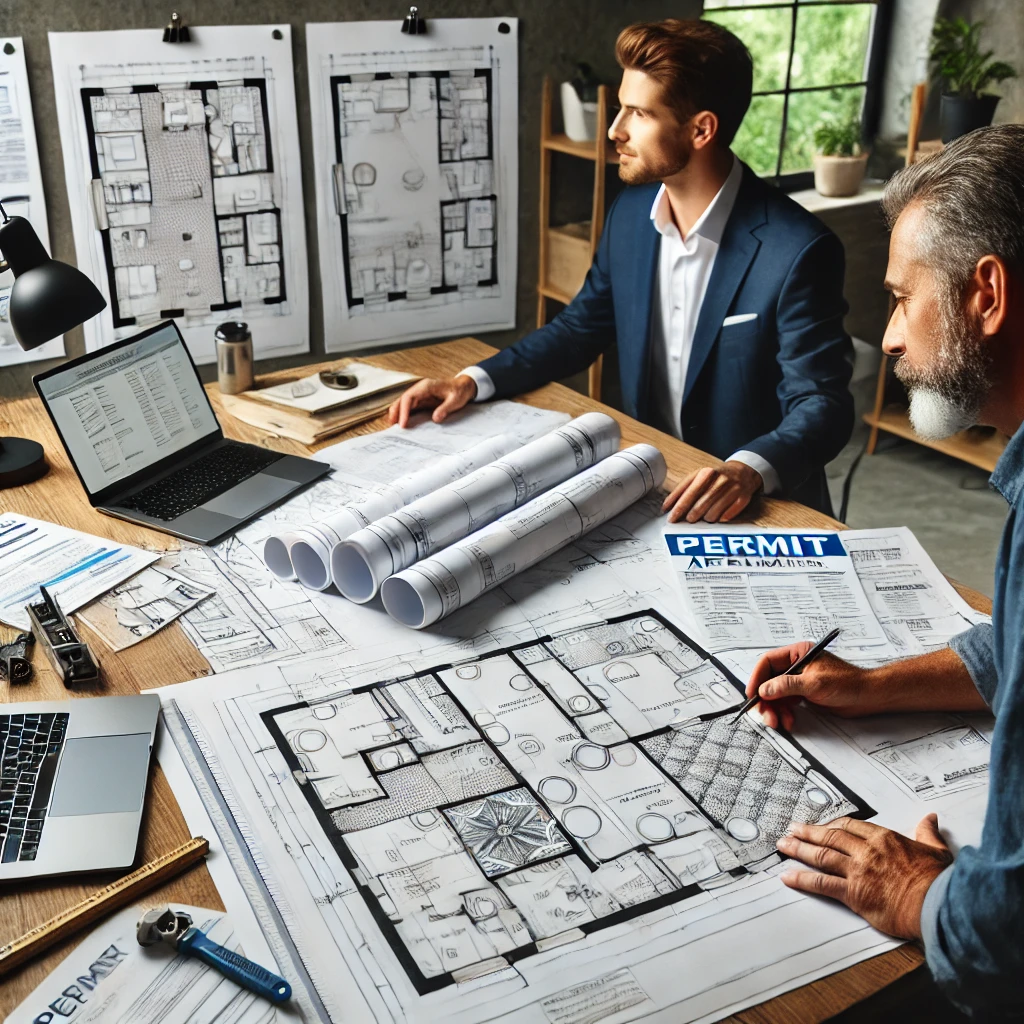
Step 7: Review Construction Plans and Permits
During this phase, your contractor will finalize detailed plans, including:
- Tile layouts
- Electrical and plumbing schematics
- Trim and fixture placement
Ensure you’re involved in reviewing these plans to avoid misunderstandings later. This is also when permits are submitted if required.
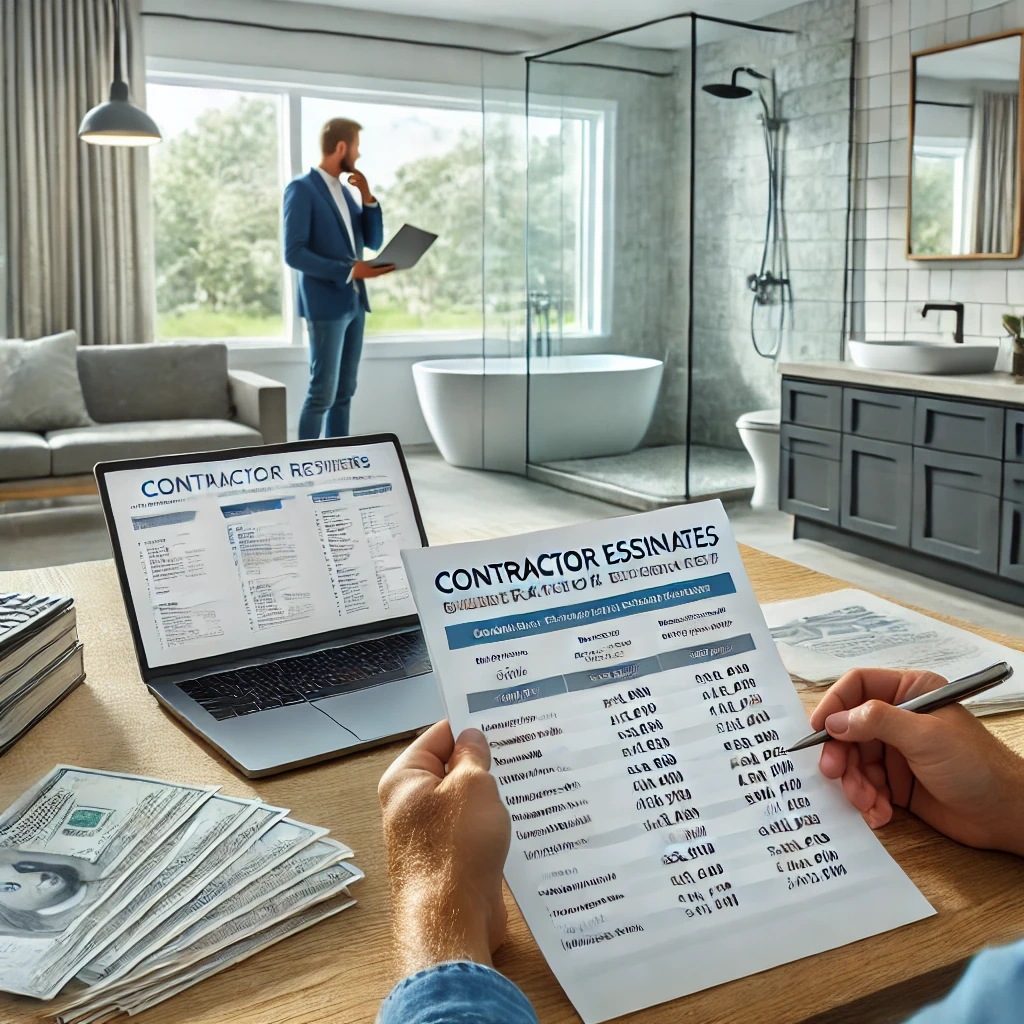
Step 8: Obtain Contractor Estimates
Get at least three estimates from licensed contractors to compare pricing and scope of work. The lowest bid isn’t always the best; consider experience, reviews, and communication style when making your choice.
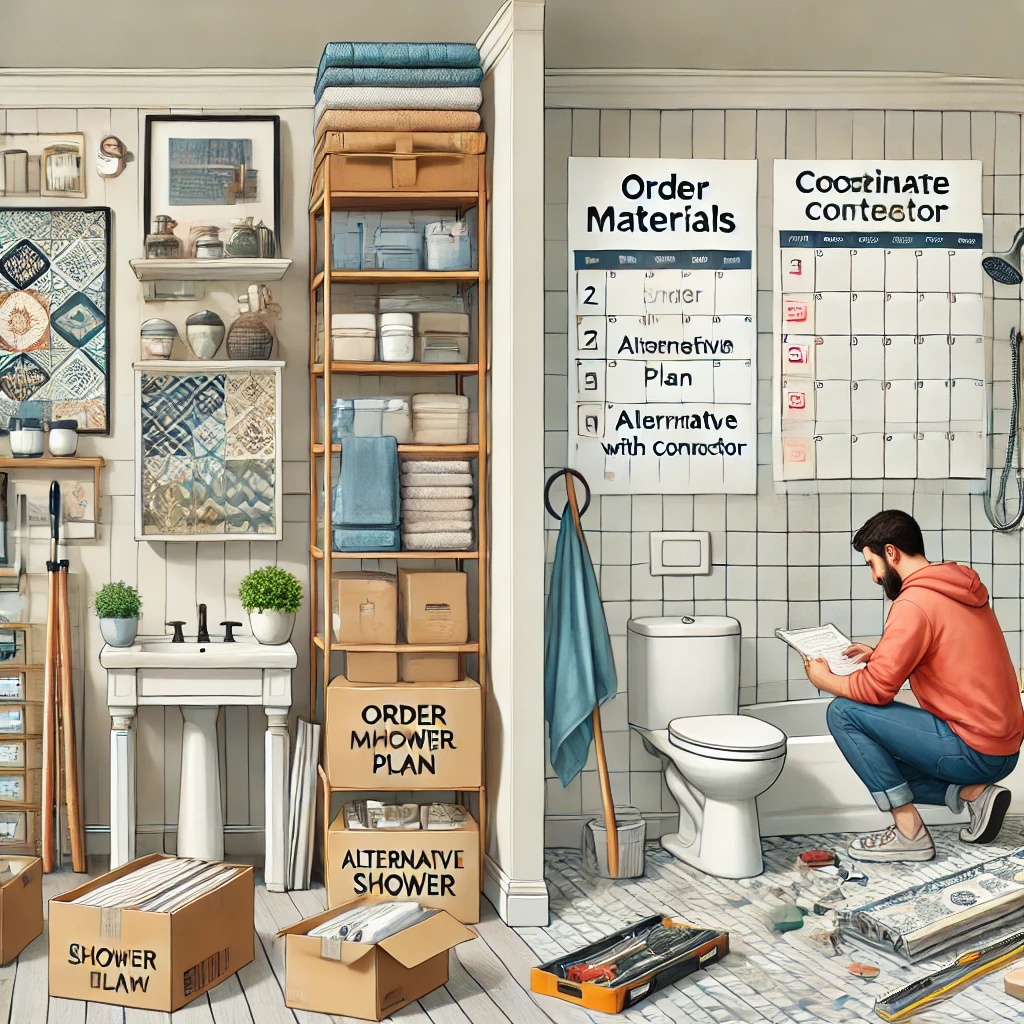
Step 9: Prepare for Construction
Before demolition begins, make sure you:
- Order and store all materials in advance.
- Clear a space for construction staging.
- Plan for disruptions, like alternative shower arrangements.
Coordinate schedules with your contractor and clarify who will oversee daily progress and address issues.
Step 10: Address Post-Construction Details
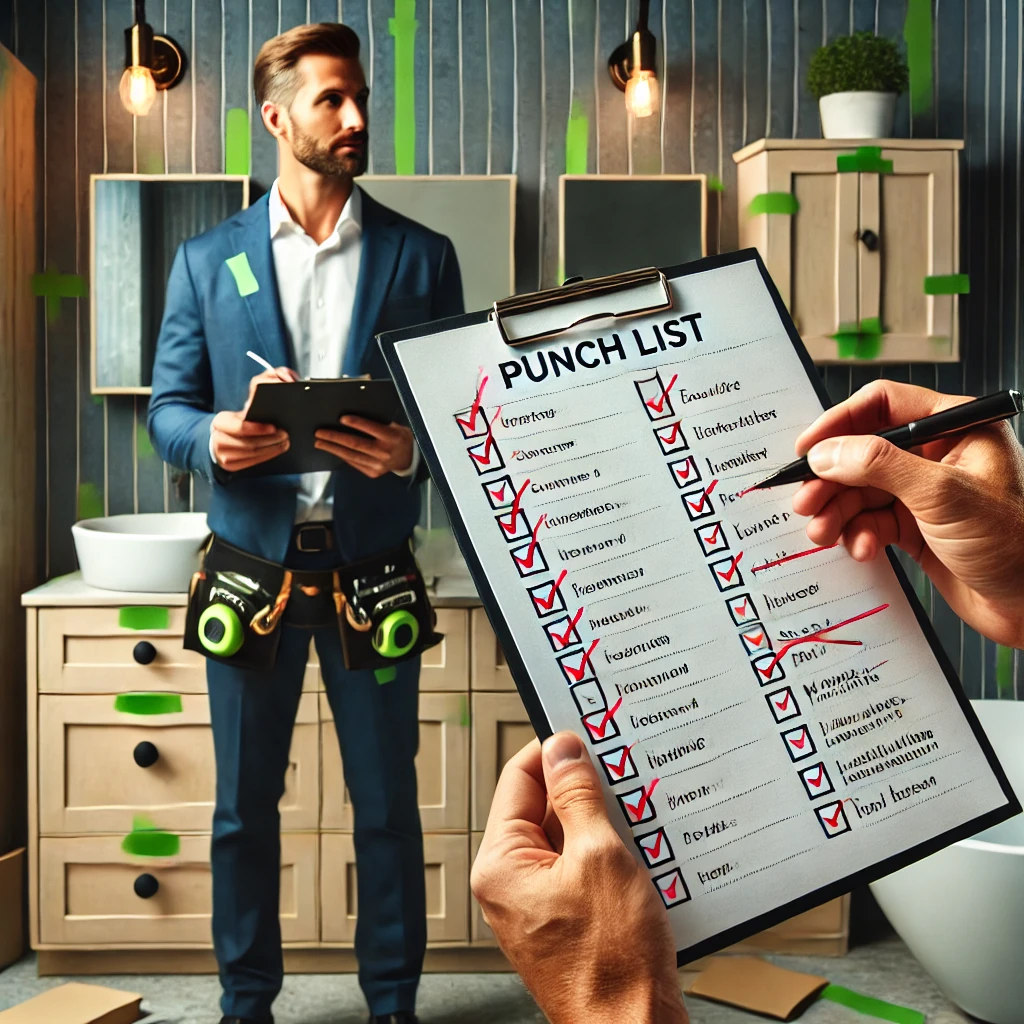
Once the project is complete, make a list of any outstanding issues, such as:
- Scratches, dents, or unfinished areas.
- Malfunctioning drawers or doors.
- Missing or incorrect installations.
Share this punch list with your contractor and set a deadline for corrections.
Step 11: Add Final Touches
Your new bathroom is ready! Now it’s time to personalize it with decor like towels, mats, soap dispensers, and artwork. These finishing touches will make the space uniquely yours.
